• Skip to main content
  • Skip to secondary menu
  • Skip to primary sidebar

Gaynor Marshall | Sewing and Design

Designing Calm, One Stitch at a Time

  • Home
  • Store
  • About
    • Copyright
    • Disclosure Policy
  • Blog
    • The Cottagecore Aesthetic: Understanding What it is and How to Use it
    • Crafting for Wellness
      • Mindful Crafting: Unlock Creativity and Transform Wellbeing
    • Discover the Inventor of the Sewing Machine: A Fascinating History
    • Sewing
      • Spring Sewing Delights: Fresh Projects to Celebrate the Season
      • Sewing Essentials: Setup & Success
        • How to Set Up an Inspiring Sewing Workspace at Home
        • Sewing Tools: My Essential Top Ten
        • Stitch Library – Ultimate Guide
        • Successful Sewing: My 5 Secrets
        • Thread Basics: The Ultimate Beginner’s Guide to Sewing and Embroidery
    • Tutorials
      • Buttons: Make Your Own
      • Creative Ways to Use Machine Embroidery for Stunning Projects
      • Drawstring Bags: Make Your Own
      • Creative Embroidery Templates: Think Outside the Box for Unique Designs
      • Mini Bunting Make Your Own
      • Take Your Sewing to the Next Level
      • Zips
        • Zips, Part 1: Invisible Zip
        • Zips, Part 2: Semi-concealed Zip
        • Zips, Part 3: Concealed Zip
        • Zips, Part 4: Exposed Zip
  • Get In Touch
    • Cookie Policy
    • Privacy Policy
    • Terms & Conditions
Home » Mini Bunting Make Your Own

Mini Bunting Make Your Own

October 3, 2017 By Gaynor Marshall

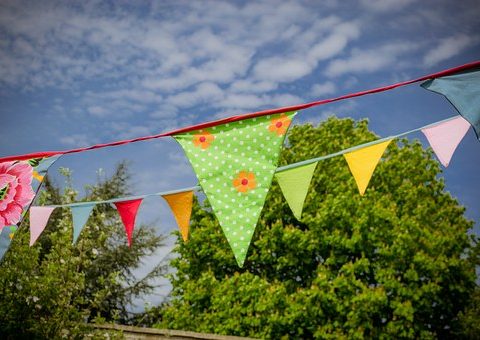
Creating a string of pretty bunting is easier than you think.

For years and years the only time you saw bunting was at country fairs or in town centres. I’m not sure who brought it into the realm of everyday useage but I for one am happy they did!

bunting_outside

Adding a splash of colour

Bunting is such a simple way to add a splash of colour to any occasion; a garden barbeque; a baby’s nursery; a milestone birthday; a modern kitchen; a festive message. The possibilities are endless, as are the ways to make it. 

I thought I’d show you a how to create a string of mini bunting that would look perfect in baby’s room hung across a bookshelf or a window frame…or indeed anywhere you choose!

This mini bunting is another great stash buster as the amounts of each fabric are really small.

What You’ll Need:

  • patterned/feature fabric
  • plain cotton for the reverse of your feature fabric
  • 4 different plain cottons
  • bias tape approximately 165cm/65″ long
  • thread

Each flag measures approximately 11cm x 11cm (4.5″ x 4.5″) including a seam allowance of 0.5cm or 1/4″. I used my 1/4″ foot.

For the feature flags (those with the pattern) you will need 3 flags for the front and 3 plain for the reverse.

For the plain flags you will only need 2 of each colour.

bunting_supplies

Method

Cutting Out:

  • The first step is to create a template. A thin piece of card is easier to work with but if you are careful paper would be fine. Place the template on your fabric and draw around it.

mini_bunting_flag_size

  • You’ll need two of each of the plain colours and 3 for the patterned fabric and 3 for the back of those. To make the most of your fabric, place the template as shown in the image below. Please remember, if your printed fabric is directional (like mine) you need to ensure you cut out the flags with the print going in the same direction.

how_to_position_template

bunting_flags_cut_out

Sewing Together:

  • Taking each flag in turn, place right sides together and stitch down the long sides, starting at the top, pivot at the point and stitch back to the top.
  • Top Tip: Start sewing a little way in from the top of the flag. This prevents the fabric getting stuck in the feed dogs.

bunting_point

do_not_stitch_to_end

  • The next step is to trim the excess fabric at the points and a little off the seam. This helps to create a sharp point when the flag is turned right side out.

trim_corners_of_flags

trim_sides_at_flag_points

  • Carefully turn each flag, right side out and press.

finished_flags

  • Trim the ears at the top of each flag and you are now ready to attach the bias binding.
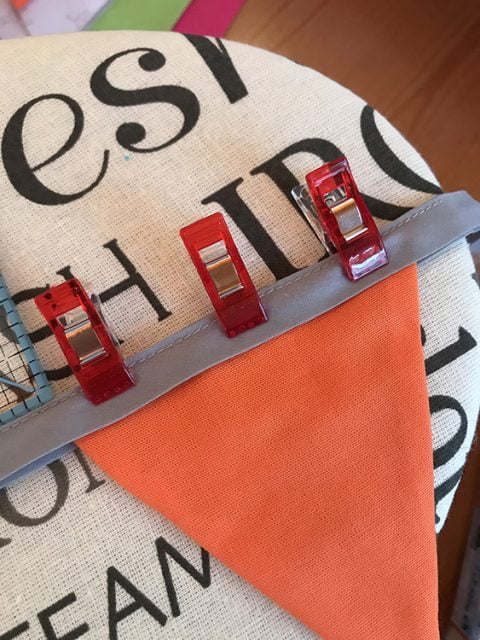
Adding the Binding:

  • Mark the centre of the bias binding with a gentle crease and attach the first flag (a patterned one). I find Wonderclips are a great alternative to pins for making bunting.

clip_binding_to_fabric

binding

  • I spaced my flags approximately 4cm/1.5″ apart, alternating them as I did so.
  • Stitch close to the edge of the bias binding making sure to catch both sides.
  • Turn over at each end and stitch down.

elephant_bunitng_finished

If you make any of your own bunting, feel free to share any photos over on Intsagram using #gaynormdesigns I’d love to see them.

Until next time…

blog_signature
facebookShare on Facebook
TwitterTweet
FollowFollow us
PinterestSave

Filed Under: Gift Ideas, Patchwork and Quilting, Scrap Busting Ideas for Your Fabric Stash, Sewing, Tutorials Tagged With: baby decor, baby nursery decor, bunting, how to make mini bunting, mini bunting tutorial, nursery elephant decor, nursery wall decor

Primary Sidebar

Printable Downloads

Search

Join My Substack

Copyright © 2017-2026 Gaynor Marshall

We are using cookies to give you the best experience on our website.

You can find out more about which cookies we are using or switch them off in .

Gaynor Marshall | Sewing and Design
Powered by  GDPR Cookie Compliance
Privacy Overview

This website uses cookies so that we can provide you with the best user experience possible. Cookie information is stored in your browser and performs functions such as recognising you when you return to our website and helping our team to understand which sections of the website you find most interesting and useful.

Strictly Necessary Cookies

Strictly Necessary Cookie should be enabled at all times so that we can save your preferences for cookie settings.

Cookie Policy

More information about our Cookie Policy