• Skip to main content
  • Skip to secondary menu
  • Skip to primary sidebar
  • Skip to footer

Gaynor Marshall Designs

Illustration and surface pattern

  • Home
  • About
  • Gallery
    • Copyright
  • Blog
    • Nature & Wildlife
    • Personal
    • Seasonal
    • Sewing
      • Nostalgia & History
      • Community
      • Tutorials
        • Gift Ideas
        • Scrap Busting Ideas for Your Fabric Stash
        • Zips
    • Disclosure Policy
  • Get in touch
    • Cookie Policy
    • FAQ’s
    • Privacy Policy
    • Terms & Condition’s
Home » Tutorials » Zips

Zips

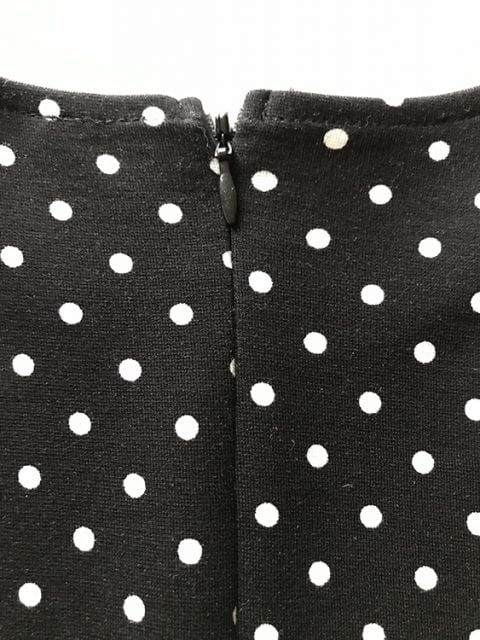
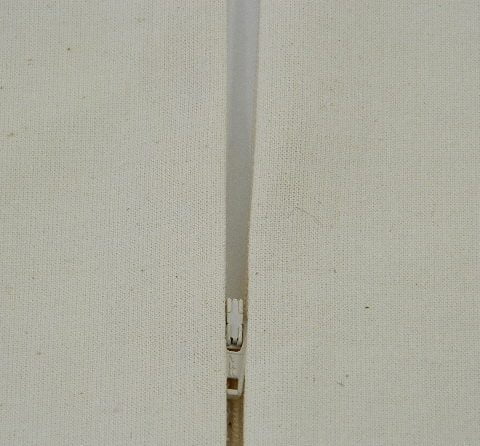
Exposed Zip – Zips, Part 4

February 11, 2018 By Gaynor Marshall

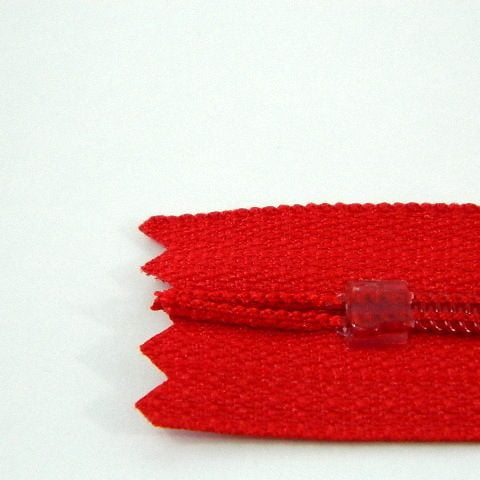
red_zip_tail

This week, in Part 4 of my “How to insert a zip” series, I’ll be explaining how to insert exposed zips into your projects.

What is an exposed zip?

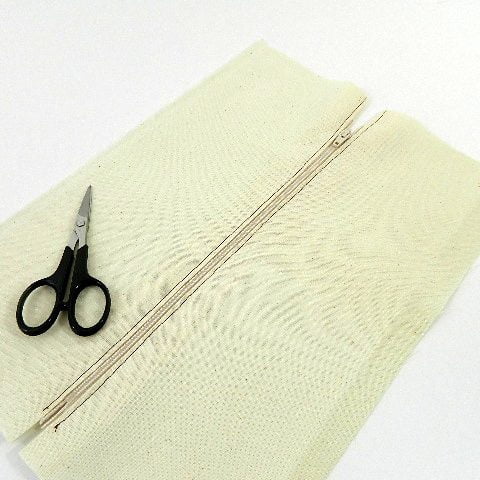
With this method the teeth of the zip are completely exposed and therefore the zip becomes an intrinsic part of the overall design.
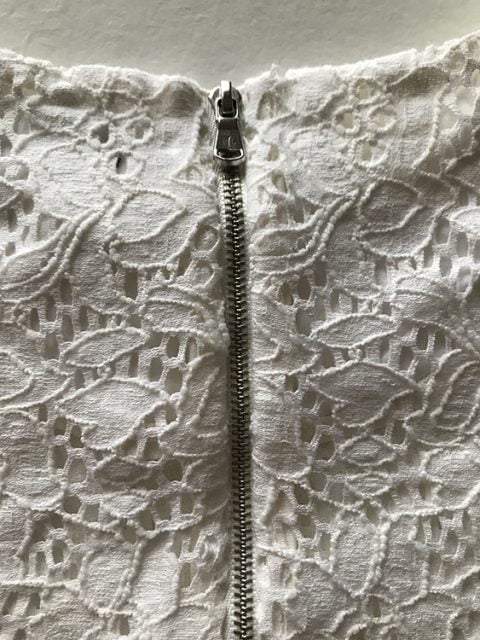
exposed_zip

This type of insertion can be used in a more decorative way.

For example:

  • use a contrasting colour zip to make it pop out of the fabric
  • use on the edge of the cushion in the seam itself either with or without piping
  • place diagonally across the panel for a funky twist

As always, when using a sewing machine it is better to use a standard zipper foot.

Did you know?

YKK is the largest zip manufacturer in the world. It makes zips in 9,500 colors and has 20 shades of black in its colour library.

Materials:

  • fabric
  • thread
  • zip
  • zipper foot

Method:

  • Cut your fabric pieces to the correct size.
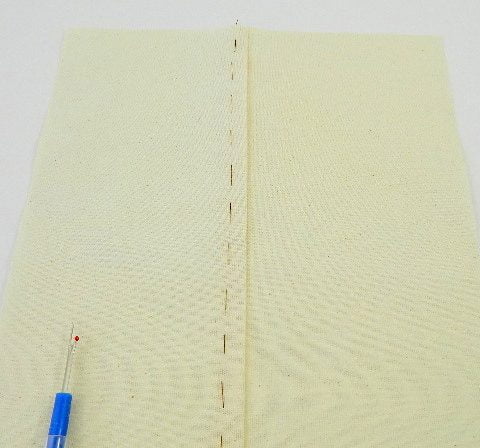
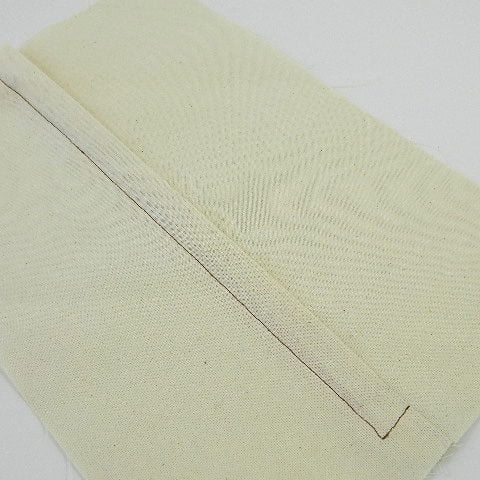
  • Press a seam allowance along two edges where your zip will be attached.
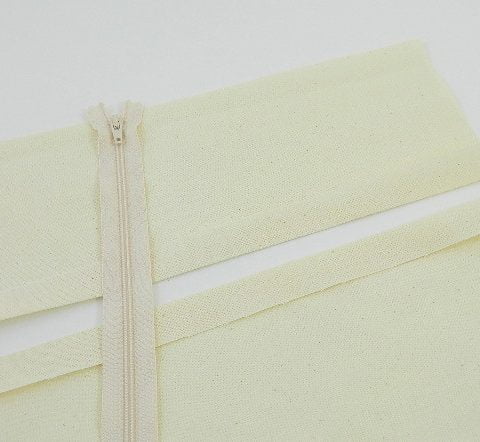
press_seam_allowance

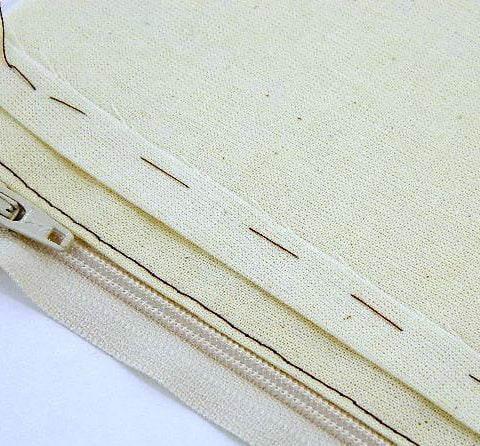
  • Place the zip face up and position one of the fabric pieces at the edge of the teeth.
  • You may wish to tack or pin it in place.
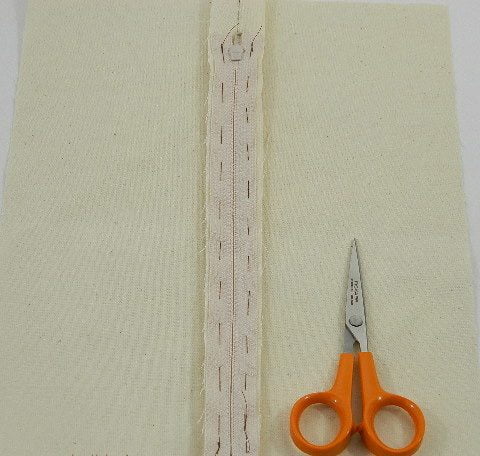
  • Stitch close to the edge of the fabric, taking care not to cover the teeth of the zip.
  • Repeat on the other side.

stitch_close_to_teeth

exposed_zip

There you have the fourth method of zip insertion, and I think the easiest to achieve.

What have we learnt?

I hope you have enjoyed learning about the various methods for inserting zips and I hope I have been able to demystify the whole process and show it really is quite straightforward if you take it one step at a time.

Over the course of these tutorials I have shown you 4 easy step by step methods for inserting zips into your sewing projects.

We looked at invisible zips, semi-concealed zips, concealed zips and exposed zips. They are all available here.

The uses for each method are varied, and many can be used for the same project.

Most of the time it will depend on how you the designer would like your finished project to look.

Experiment and play around with the different types.

all_styles_of_zip_insertion

Although not exhaustive, these tutorials explain the basics of working with zips and by following them you will soon be able to use your new skills with confidence.

Please feel free to pop any questions in the comments section below or send me an email and I will do my best to help.

Until next time…happy sewing!

blog_signature


  • Semi-concealed Zips – Zips, Part 2
  • Invisible Zip – Zips, Part 1
  • Zip Pull Neon Pink – Juno
  • Zip Pull Neon Green – Juno
  • Zip Pull Neon Orange – Juno

Concealed Zip – Zips, Part 3

February 4, 2018 By Gaynor Marshall

rainbow_zips

Welcome to Part 3 of my series showing you how to insert various types of zips into your sewing projects.

This week we’ll be tackling concealed zips.

What is a concealed zip?

With this method one fold of the fabric covers the zip entirely.

concealed_zip

  • useful for cushions where you do not wish the zip to be visible
  • to allow pattern matching for a seamless look
  • to protect delicate fabrics from being caught on the zip pull / slider
  • jeans / trousers

As before, a standard zipper foot should be used if you are sewing with a machine.

Did you know?

YKK are the largest manufacturer of zips in the world with over 40% of the market share. Each year they produce enough zips to wrap around the world 50 times!

Materials

  • fabric
  • thread
  • zip
  • zipper foot

Method

  • Cut your fabric pieces to the correct size and place right sides together.
  • Position the zip on to your fabric and mark a point at the base of the zip.
  • Machine stitch the seam from the bottom to the base of the zip position.

machine_stitch_to_base_of_zip

  • Decide which side of the seam you want to cover the zip and press a continuation of the seam line in that side only and tack.

press_fold_in_seam

tack_fold_in_top_seam

  • On the other side turn under the seam allowance 3mm / 1/8″ from the seam line, making the seam allowance smaller. Tack along the seam line.

tacking_in_top-seam

  • Place the zip right side up and lay the second (smaller) fold against the teeth of the closed zip. Tack in place.

tack_zip_as_shown

  • Starting at the bottom, machine stitch along the length of the zip close to the fold of the fabric.

stitch_zip_as_shown

  • Bring the wider fold over the teeth until it meets the original seam line of the first piece of fabric. Tack zip in place.
  • Tack the fold of the fabric that covers the zip in place on the right side of the fabric.

tack_the_fold_to_the_zip

  • Machine stitch in place starting from the bottom.
  • Press carefully and remove tacking stitches.
  • Snip the seam allowance at the base of the zip to allow it to lie flat and hand stitch raw edges to prevent fraying.

machine_in_place_and_remove-tacking

The zip is completely hidden using this method and it gives a very neat finish.

Catch up

If you’d like to catch up on the series so far you can find the relevant information here. Part 1, is about invisible zips and Part 2 is about semi-concealed zips.

I hope you are finding these guides useful and if you have any questions please feel free to get in touch. Pop a comment below or send me an email here.

Next time: exposed zips.

Until then…happy sewing!
blog_signature

Semi-concealed Zips – Zips, Part 2

January 28, 2018 By Gaynor Marshall

coloured_zips

In the second part of my series about inserting zips into your projects, we’ll be looking at how to create semi-concealed zips.

What are semi-concealed zips?

A semi-concealed zip refers to the way the zip is inserted into the project. With this method the teeth of the zip will not be visible from the right side of the fabric although the stitching will.

semi_concealed_zip

You may decide to make more of a feature of the stitching by using a contrasting thread.

There are many uses for this type of insertion, some of which include:

  • making more of a feature of the zip opening
  • making cushions
  • bag making
  • dress making

A standard zipper foot should be used if you are sewing with a machine.

Did you know?

In 1851, Elias Howe received a patent for an “Automatic, Continuous Clothing Closure”. However, he failed to market the design and in 1893, Mr Whitcomb L. Judson patented and brought to market his “Clasp Locker”. Being the first to market, gave Mr Judson credit for inventing what was later termed the “zipper”.

Materials

  • fabric
  • thread
  • zip
  • zipper foot

Method:

  • Cut your fabric to the required size and place right sides together.
  • Position the zip on your fabric and mark the point at the base of the zip.

semi_concealed_zip_position

  • Machine stitch the seam to the base of the zip position.
  • Tack the rest of the seam closed.

tack_seam_in_place

  • Press the seam open.
  • Place the fabric wrong side up and lay the zip face down over the seam and tack in place.

tack_zip_in_place

  • On the right side, sew carefully down each side of the zip, taking care not to expose the teeth.

top_stitch_the_zip_in_place

  • Remove tacking stitches. 

stitch_line

  • Remove tacking stitches.

If you missed Part 1 you can find it here.

I hope you are finding this series useful. If you have any questions please pop them in the comments below or you can email me here.

Next time: concealed zips.

Until then…happy sewing!
blog_signature

Invisible Zip – Zips, Part 1

January 21, 2018 By Gaynor Marshall

open_zip

This week on the blog I’m looking at how to insert invisible zips.

Zips are a fantastic invention, thank you Mr Whitcomb L. Judson (1893), but the nemesis of many a sewer!

They have the reputation for being difficult to use. However, if you take your time and follow a few basic guidelines they are really quite straightforward.

Types of Zip

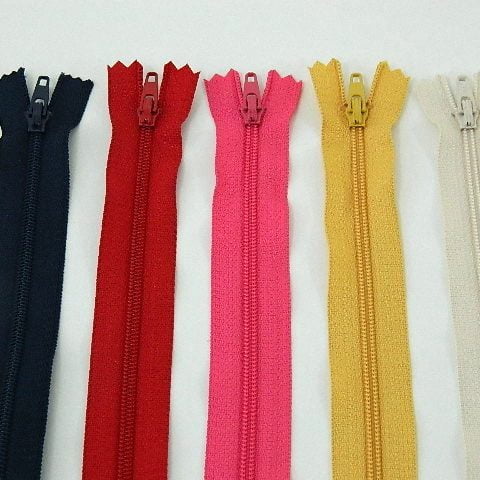
Zips themselves come in a number of guises: the two that are regularly used in home furnishings are nylon coil and metal. They are available in a whole rainbow of colours and a large number of sizes.

I tend to use nylon zips as there is no chance of them rusting if washed.

Continuous zips are extremely useful for larger items and upholstery projects. The teeth part of the zip comes on a roll which you then cut to the required length. A number of slides may be included and you can usually buy extra.

Zips can be tricky, but if you use a zipper foot on your machine and take it step by step, you can do it.

As my background is in soft furnishings I will be sharing information relating to home decor rather than fashion, although certain things may be transferable.

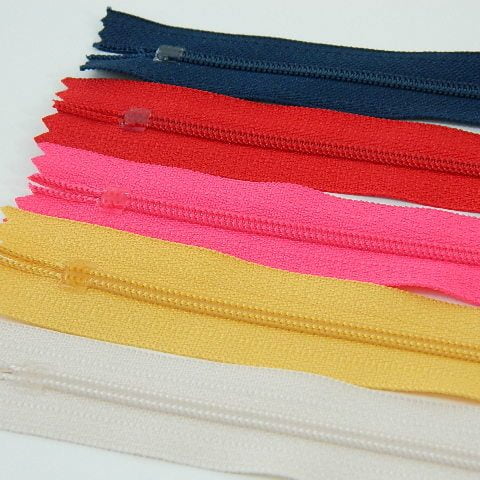
zips

Practise makes perfect

You can see that I’ve used spare pieces of fabric in order to show you the techniques and I’ve also used a contrasting thread so that it is easier to see where I have stitched. This is a good way to practise before making up your project as it means you will not spoil any expensive fabric should you need to unpick any first attempts.

Which method should you choose?

The first thing to consider is how do you want your finished project to look. This will determine the method to use.

There are a number of methods for inserting zips:

  • invisible zips
  • semi-concealed zips
  • concealed zips
  • exposed zips

For example, if you are making a cushion cover, is it important to you that the zip is completely hidden or would you like to incorporate it as a design feature? It is entirely your choice. 

The next thing to consider is how long your zip should be.

This will depend entirely on what you are making. For example, if you are making a cushion cover, the opening for the zip will need to be wide enough to insert and remove a cushion pad without too much of a struggle.

Practising all of the techniques is valuable experience and you may find your preference by trying them all.

If you are still unsure, have a look on Pinterest and get a feel for the kind of style you prefer and take it from there.

In order not to overwhelm you, I will show you one technique each week from the list above starting with: invisible zips.

invisible_zip

Invisible Zips:

This method means the zip will not be visible on the right side of the fabric on your finished project.

  • useful when a good colour match is not available
  • or when any other type of zip insertion would break up the pattern on the fabric
  • ideal for fabrics that are difficult to sew

A special invisible zipper foot may be available for your machine, although a standard zipper foot may be used just as effectively.

Method:

  • Cut your fabric to the size required for your project and place the two pieces right sides together.
  • Using a large machine or tacking stitch close the seam. Press open.

tack_seam

press_seam_open

  • Place the closed zip on the wrong side of the seam, making sure the teeth are centred over the join.
  • Tack both sides of the zip in place, attaching it ONLY to the seam allowance NOT through to the right side of the fabric.

tack_zip_in_place

close_up_of_tacking_stitches

  • Remove the original tacking stitches that held the seam closed and open the zip to its base.

undo_tacking_stitches

open_zip

  • Open out the fabric and machine or backstitch down each side of the zip next to the teeth, stitching through the zip tape and seam allowance only and working from the wrong side of the fabric. Sew down as far as the slider.
  • Keeping the needle in the down position, raise the zipper foot and move the slider up a little and sew to the end of the tape.

sew_zip_in_place

stitch_line

  • Repeat on the other side of the zip. Remove tacking stitches.

remove_tacking_stitches

finished_zip

As you can see, neither the zip nor the stitches are visible from the front of the fabric.

I hope you find this series useful.

If you have any questions please do not hesitate to contact me or leave a comment below and I will do my best to help.

Next time: semi-concealed zips.

Until then…happy sewing!
blog_signature

Primary Sidebar

Let’s Be Friends

Instagram
Facebook
Follow by Email
Twitter
Visit Us
Follow Me
YouTube

Daily Wellbeing Pages (pdf)

Living in our modern busy world, it’s more important than ever to nurture ourselves and our environment. Juggling family life, work, friends and other commitments can mean our own wellbeing sometimes takes a back seat.

With these simple daily check in pages you can spend a few minutes each morning and evening to plan and review your day.

Only £2.49

Creative Goddess Bundle (pdf)

Running a creative business, or indeed any business, is tough. So anything that helps make the process a little easier has to be a good thing, right?

That is exactly why I have designed these goal planning pages. They are specifically set out to help you see what your overall goals are and to break them down in to manageable monthly, weekly and daily activities.

Only £5.00

Sewing Hints & Tips eBook

This handy little guide makes the perfect gift for anyone who loves to sew. There are also lots of fun, sewing related facts throughout that will probably surprise you.

Only £5.00

Footer

member of SCBWI (Society of Children's Book Writers and Illustrators)

Search

Cute bear illustration encouraging people to shop small.

Copyright © 2017-2023 Gaynor Marshall

We are using cookies to give you the best experience on our website.

You can find out more about which cookies we are using or switch them off in settings.

Gaynor Marshall Designs
Powered by  GDPR Cookie Compliance
Privacy Overview

This website uses cookies so that we can provide you with the best user experience possible. Cookie information is stored in your browser and performs functions such as recognising you when you return to our website and helping our team to understand which sections of the website you find most interesting and useful.

Strictly Necessary Cookies

Strictly Necessary Cookie should be enabled at all times so that we can save your preferences for cookie settings.

If you disable this cookie, we will not be able to save your preferences. This means that every time you visit this website you will need to enable or disable cookies again.

Cookie Policy

More information about our Cookie Policy