Design your own fabric using decorative machine embroidery!
I’m sure you’ll agree, beautiful fabric is one of lifes’ necessities…erm…ok…luxuries; the colour, the texture, the feelings it can evoke, the endless creative possibilities. You’ll also be aware of how expensive good quality fabric can be. I’m not trying to talk myself out of my surface design job, but I want to share a quick and easy way to create gorgeous, unique fabric using only plain fabric and thread.
Decorative Machine Embroidery.
Your sewing machine is a fabulous tool. A very, under-used tool. Most of the time, the only stitch we use is the straight stitch; much needed and very necessary when sewing seams, but not the only one available.
Even if you have an entry level sewing machine, it will have a good handful of utility and decorative machine embroidery stitches. Have a look. If you create a stitch library you will be able to see at a glance the array of stitches available to you.
I have designed a number of projects suitable for using any of the stitches you have on your machine. Use them to create home decor items, either for yourself or to give to a loved one or friend.
Projects.
1. Pincushion
The first project I want to share is a pincushion. Very simple to put together but very stylish and no one anywhere will have one the same style.

- I wanted to create a 6″ (15cm) finished pincusion. I cut 2 squares of main fabric and two squares of lining measuring 6.5″ x 6.5″ ( 16cm x 16cm approx.). You don’t have to use lining fabric you could use stabiliser, thin wadding or anything you have to hand for the inside.

- Using two contrasting colours makes a bigger impact.
- For the turquoise side I used a bright pink thread and for the green side I used a turquoise thread. I find the best thing to do is to draw a straight line with an air erasable pen so that your first row of stitches is straight. It doesn’t matter whether you start at the edge of your fabric or the centre, I prefer to start in the centre and then space the rows evenly either side.

- You may choose to sew a random selection of decorative embroidery stitches, or you could mirror them to create a further interesting design feature.
- Once both your fabric pieces are complete, place them right sides together and sew them together using a straight stitch, remembering to leave a small gap for turning.


- When you have turned the pincushion out and you are happy with the corners, stuff it firmly with toy or craft stuffing. The trick when stuffing anything is to use small pieces until it is firm and evenly filled.
- Hand sew the gap using a ladder stitch.


- I also rotated the fabric pieces, so that on one side the stitches ran top to bottom and on the reverse they are side to side. Another design feature for a totally bespoke pincushion.
2. Scissor Keeper
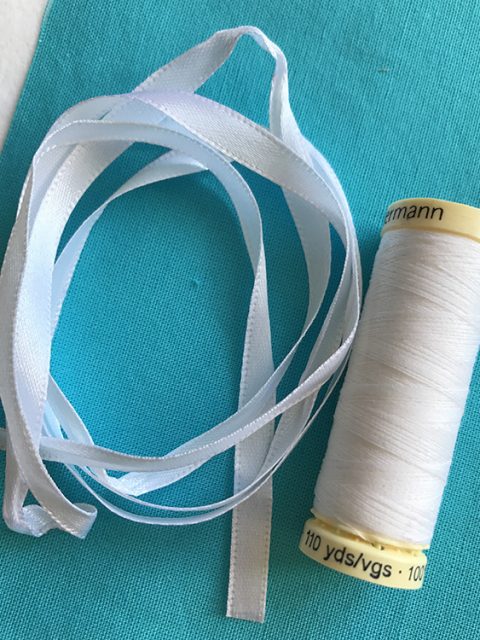
The instructions for making scissor keepers is almost identical to those for a pincushion. The only difference, apart from size, is you need to add a piece of ribbon or cord before you stitch the two pieces together.
For reference my scissor keepers measure 2″ x 2″ and 3″ x 2.5″ finished sizes (5cm x 5cm & 7.5cm x 6cm approx). Add 1/4″ (1cm) for the seam allowances.


- Carefully tack / baste the ribbon in place before stitching the outer pieces together.

These handy little notions can be made in a variety of sizes for different scissors and can even be used as keyrings.


3. Hoop Art.
Use fabric in an embroidery hoop as a modern style of wall art.
These clever little inventions lend themselves perfectly to home decor. Arrange them in groups of varying sizes to add interest to a plain wall.
- To crate your own hoop art, choose the hoop size you wish to use and stitch your fabric. Make sure the piece of fabric you use is big enough to fit inside the hoop.
- Trim the fabric piece by using the inner hoop as a template and fix onto the frame.


Display proudly on your wall!
4. Wall Art.
Another idea is to stitch a panel of fabric using decorative machine embroidery stitches and display in a box frame. I created a simple design by using one stitch in the centre of the panel and then I mirrored the outer stitches to form a balanced design.


Use more than one colour and see the different effects you can achieve. A rainbow of colours would look stunning.
I hope you enjoy creating your own fabric using the decorative machine stitches on your sewing machine. Feel free to share photos of your makes using #gaynormdesigns over on Instagram, I’d love to see them.
Until next time…
Gaynor xx


