In the second part of my series about inserting zips into your projects, we’ll be looking at how to use a semi-concealed zip.
What are semi-concealed zips?
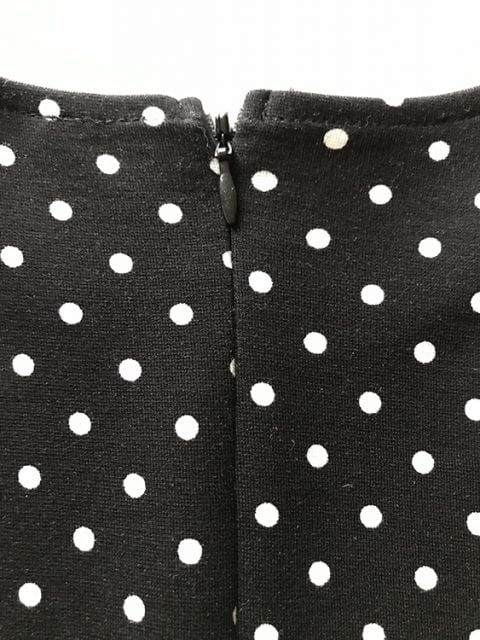
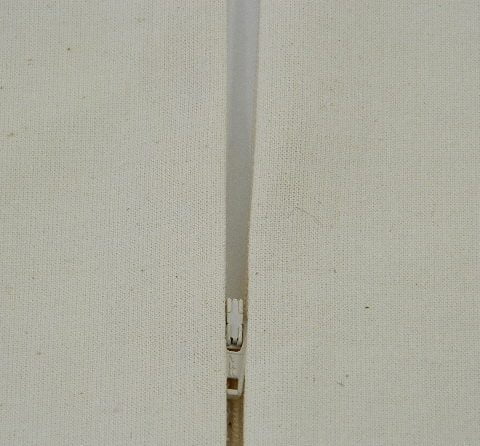
A semi-concealed zip refers to the way the zip is inserted into the project. With this method the teeth of the zip will not be visible from the right side of the fabric although the stitching will.

You may decide to make more of a feature of the stitching by using a contrasting thread.
There are many uses for this type of insertion, some of which include:
- making more of a feature of the zip opening
- making cushions
- bag making
- dress making
A standard zipper foot should be used if you are sewing with a machine.
Did you know?
In 1851, Elias Howe received a patent for an “Automatic, Continuous Clothing Closure”. However, he failed to market the design and in 1893, Mr Whitcomb L. Judson patented and brought to market his “Clasp Locker”. Being the first to market, gave Mr Judson credit for inventing what was later termed the “zipper”.
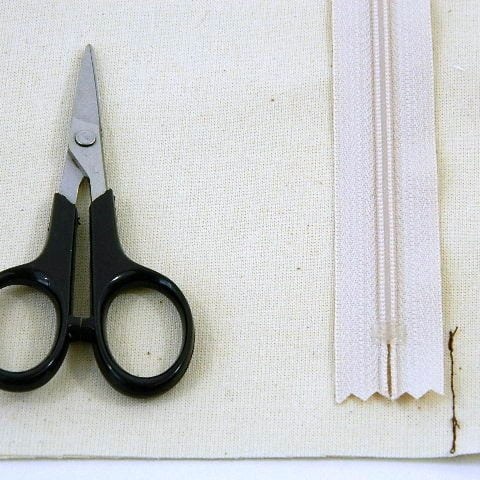
Materials
- fabric
- thread
- zip
- zipper foot
Method:
- Cut your fabric to the required size and place right sides together.
- Position the zip on your fabric and mark the point at the base of the zip.

- Machine stitch the seam to the base of the zip position.
- Tack the rest of the seam closed.

- Press the seam open.
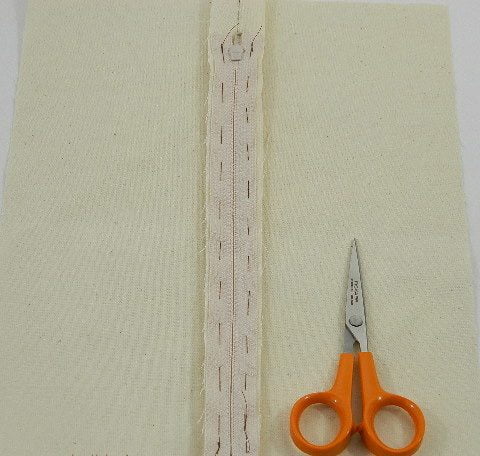
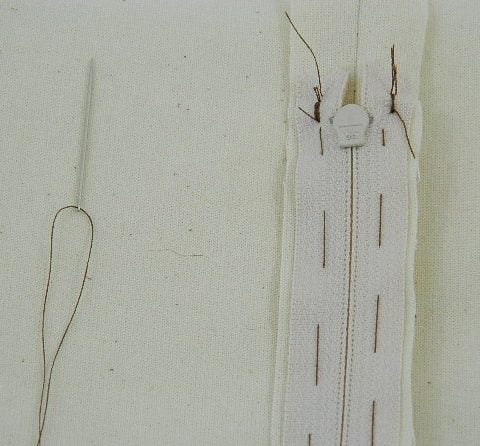
- Place the fabric wrong side up and lay the zip face down over the seam and tack in place.

- On the right side, sew carefully down each side of the zip, taking care not to expose the teeth.

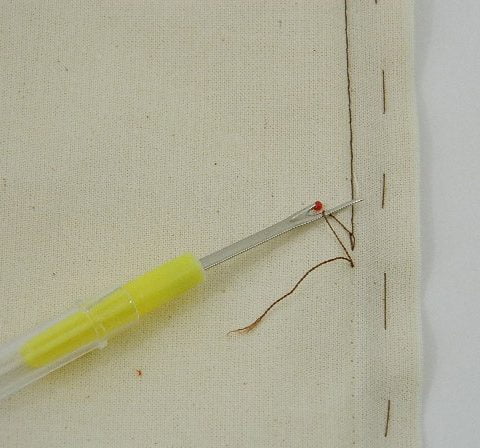
- Remove tacking stitches.

- Remove tacking stitches.
If you missed Part 1 you can find it here.
I hope you are finding this series useful. If you have any questions please pop them in the comments below or you can email me here.
Next time: concealed zips.
Until then…happy sewing!